0x80072ee2 Error is a common error which occur when the Windows Update site is blocked due to some or the other reason. But that doesn’t make this a web hosting issue as it is limited to your PC only.
Reasons for 0x80072ee2 Error
- The router’s MTU settings is too high or too low.
- If you’re using Norton Security 2003, then it might be blocking the access.
- A blockage by firewall on your computer or on the local network might hinder your access to the Windows Update site.
- Proxy server settings are interfering with your connection to the Windows Update site.
Method 1: Tweak up your firewall settings
Update or reconfigure your firewall to make sure that the firewall isn’t blocking your way to the Windows Update site. Sometimes it happens that the firewall does not allow the system to connect to an active connection and blocks the site.
Method 2:
If the problem still exist, then most probably you’ll have to turn your firewall off for a while. To do this:
- Click Start
- In the Start Menu select Control Panel.
- In the Control Panel window find Search Box, when you find it write Firewall in double quotes.
- As soon as the search results show you the Windows Firewall select it.
- Click on the link that says “Turn Windows Firewall On or off” you see on the left side.
- If it asks admin username and password, provide it.
- Now select Public Network Settings.
- Click OK to apply changes.
- If you still face the same error, then there’s nothing wrong with your firewall so turn your firewall ON following the same steps.
Method 3: From HOSTS files, remove Windows Update Entries
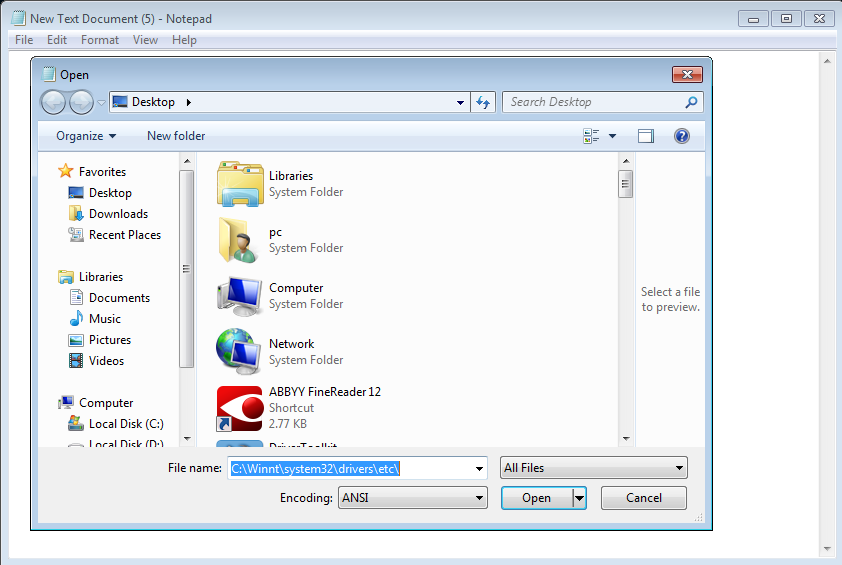
- Open Notepad.
- Select File> Open.
- On files dropdown box select All Files.
- Find the folder: C:\Winnt\system32\drivers\etc\
- Open the hosts file.
- Remove any lines that contain entries for Windows Update.
- On the File Menu, Click save.
Method 4: Update Server Address
- Open Internet Explorer.
- Select tools from the taskbar.
- Select Internet Options.
- Select Security in the Internet Options window.
- Select Trusted Sites in the Security Window.
- Select Sites.
- Check the box that reads “Require server verification (https:) for all sites in this zone”.
- Select “Add this Website to the zone”. Type “http://update.microsoft.com” and http://windowsupdate.microsoft.com in the box.
- Click the Add button after you write the address and then click OK.
- See if this works and even if it doesn’t, let the sites you mentioned as trusted as it is.
Method 5: Using IPCONFIG /FLUSHDNS command
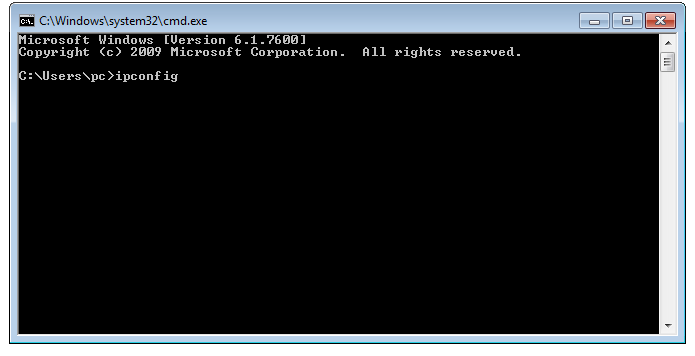
- Go to Start, then Run or press Windows Key + R.
- Type cmd in the box and then click OK.
- As soon as the command prompt window opens up type ipconfig/flushdns and then press enter.
- Close the window and check if this solves your problem.
Windows Store 0x80072ee2 Error
Method 1: Restarting Background Intelligent Transfer Service (BITS)
- Right click on bottom left corner of Desktop, Click on Control Panel. In the search box, type administrative tools, and then click Administrative Tools.
- Double-click Services.
- Right-click the Background Intelligent Transfer Service (BITS) service, and then click Properties.
- On the General tab, next to Startup type, make sure that Automatic (Delayed Start) is selected. If it isn’t, select it, and then click Apply.
- Next to Service status, check to see if the service is started. If it isn’t, click Start.
Method 2: Run Windows Update troubleshooter.
- Press Windows key + W and type troubleshooting.
- Select Troubleshooting.
- Select “View all” on the top left corner.
- Run Windows update troubleshooter.
x


 (53 votes, average: 4.83 out of 5)